Products Used (in order):
- Benefit's 'Porefessional' Primer
- Kryolan Ultra Foundation
- Kryolan Concealer Palette
- Illamasqua Translucent Powder
- Kryolan Glamour Glow Palette
- Benefit Brow Zing (Medium)
- Mac Cool Neautral Palette
- Benefit 'Roller Lash' Mascara
- Kryolan Creme Liner
- Kryolan Lip Palette
- Kryolan Cinewax
- Kryolan Supracolor (Red and Black)
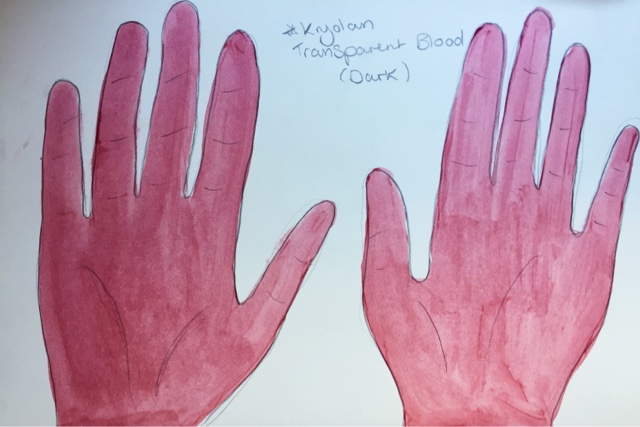
- Kryolan Transparent Blood (dark)
Step by Step:
 1. First, I prepared the skin using cleansing, toning and moisturising. I then applied Benefit's 'Porefessional' primer to help reduce the appearance of fine lines in the make-up.
 2. I then applied the base, which I firstly used Kryolan's Ultra foundation and conealer from the concealer palette. I blended this in well with a kabuki brush before setting it with Illamasqua's Translucent Powder to prevent the fine lines from being visible. I then warmed up the skin tone and contoured the face using bronzer, highlighter and blush from the Kryolan Glamour Glow Palette.
 3. I filled in and shaped the eyebrows using Benefit's 'Brow Zing' and an angled brush.
 4. I created a soft smokey eye using black, dark brown, light brown and white shades from the Mac 'Cool Neautral' palette.
 5. I then applied Kryolan's Creme Liner in Ebony and Benefit's 'Roller Lash' Mascara on the lashes.
 6. I then applied a orangey-red lipstick to the lips (Kryolan's Lip Palette) as I felt this particular shade of red complimented my model's skin tone.
 7. I curled the hair all over, alternating in direction. using a curling wand which I loosely teased out with my fingers and hairsprayed.
 8. I then moved on to the cut hand, which I firstly applied and blended the edges of Cinewax and cut down the middle with a spatula.
 9. I then applied red greasepaint around the cut with a soft brush for a light application. I then used a small refined brush to add red inside the cut.
 10. I then applied a small amount of black greasepaint inside the cut with a small refined brush and then used to same brush to add dark transparent blood inside the cut.
Health and Safety:
- Decant all product on to a palette before use.
- Make sure all electrical equipment is PAT tested.
- Use spray products such as hairspray in a well ventilated room.
- Use disposable wands when applying mascara.
Evaluation of practice:
Overall I am very happy with the outcome of this practice. The one thing I would change about the overall look is that I would concentrate more on an even application of the eyeshadow above the eyelid so that the colour is more consistent. The thing I am happiest with the most is the cut on the hand, although like the eyeshadow, I would like the colour application to be slightly more consistent/smooth.